gardmi 🇺🇸 Garden site planner
Draw it — breakers and sections compute themselves

Electrical plan online: lighting, sockets and switches

Plan the electrics of your house and garden online. Place lights, sockets, switches and the distribution board right on the floor plan and the plot plan — gardmi draws the illuminance zone of every light, snaps devices to the walls, routes the cables, sums the load of each circuit, picks breakers and cable sections and checks the voltage drop. Even if this is your first electrical plan, the editor won't let you get the sections wrong.

  • 13 kinds of lights, sockets, switches, sensors and the board
  • Illuminance zones, breakers and sections — automatic
  • Free, with a panel schedule and an estimate
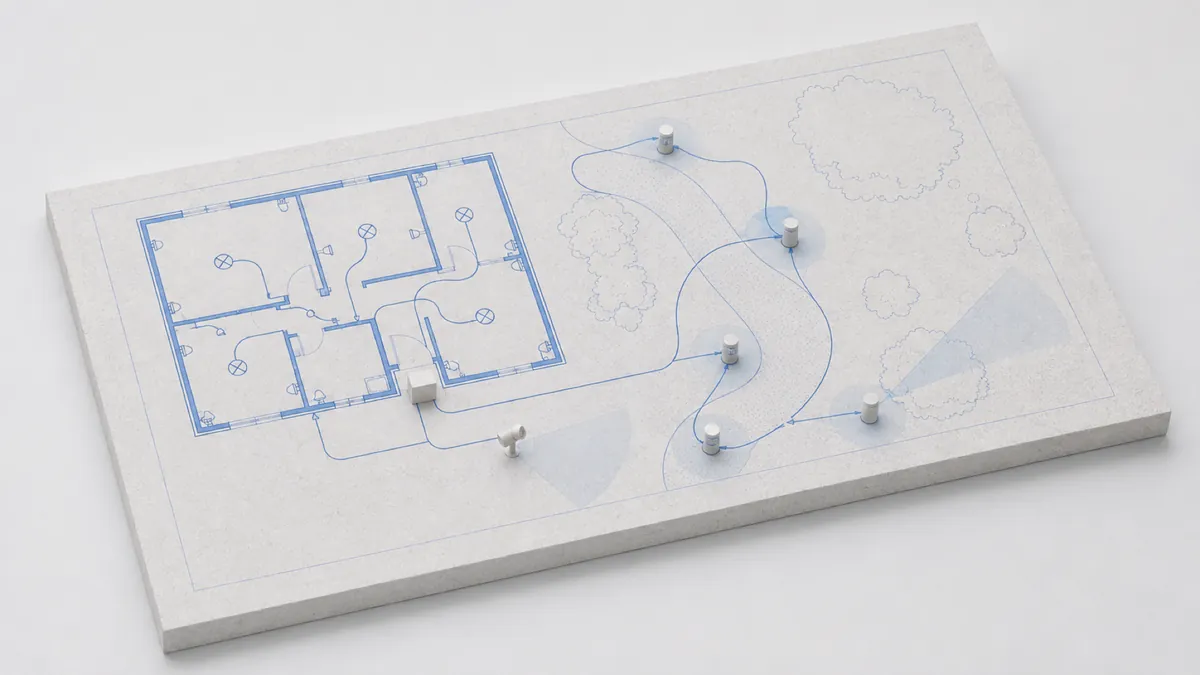
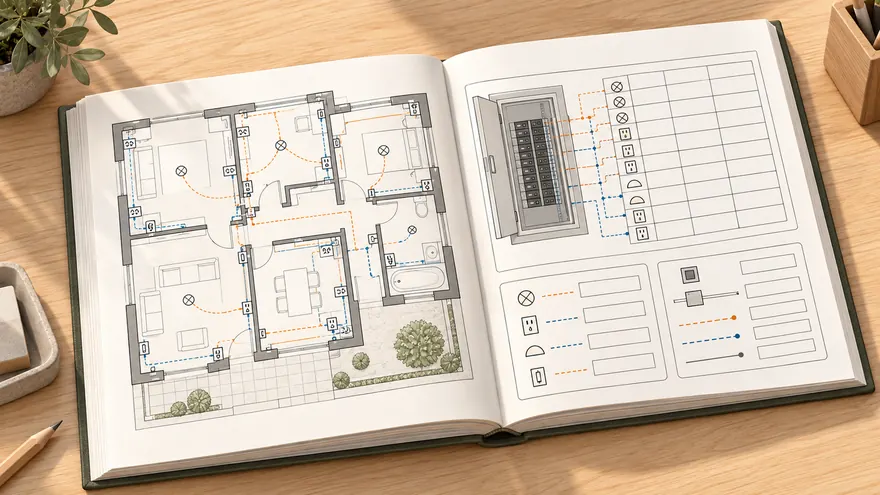
An electrical plan in gardmi: lights with illuminance zones, sockets on the walls and cables from the distribution board
Electrics of a house and garden — lights, sockets, cables and the board on one plan.
Devices on the plan

Sockets, switches and lights on the floor plan

Every device is a standard symbol with real dimensions and a mounting height — the same one an electrician expects to see on a drawing.

  • Snaps to the wall face and turns the right way
  • Gangs, mounting height and IP rating
  • Switch wire from the switch to its lights
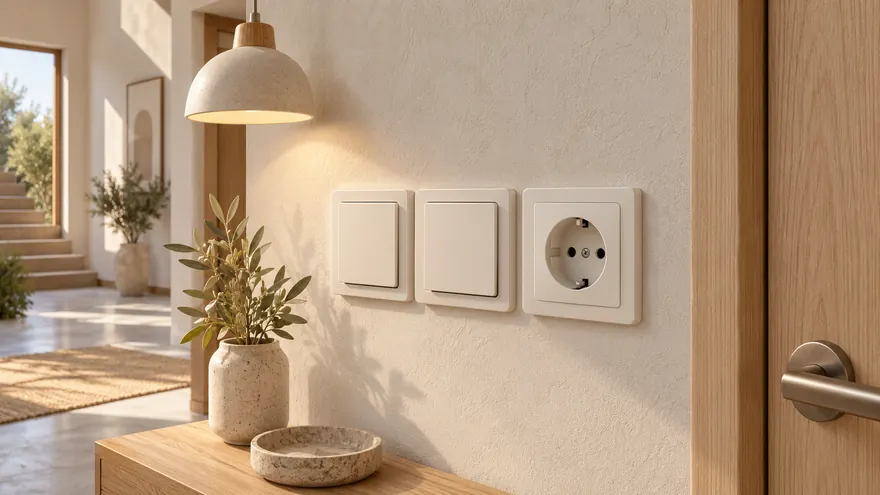
Sockets and switches snapped to the walls of a floor plan, ceiling lights wired to the switches

Lights indoors and in the garden

Ceiling lights, pendants, downlights, track spots and floor lamps for the rooms; bollards, post lanterns, wall lights, spotlights, floodlights, step lights and solar markers for the garden. Each carries its lumens, power, colour temperature and beam angle.

Sockets and switches on the walls

Drag a socket or switch towards a wall — it snaps to the wall face, turns the right way and shows the symbol on the correct side. Set the gangs, the mounting height, IP rating for outdoor sockets, or use a floor socket in the middle of a room.

Distribution board and meter

The board is drawn with its real footprint, surface-mounted or recessed into the wall, with the supply power and phases. Everything starts here: circuits, breakers and cable sections are computed from the board.

Sensors, 12 V transformer, controller

Motion and twilight sensors, a junction box, a 12 V transformer for low-voltage garden lighting and a smart controller. Draw a switch wire from a switch or sensor to the lights it controls — the link follows the objects when you move them.

Electrical and lighting toolkit

Lights, sockets, switches, sensors, the board and cables are placed at real size with their electrical parameters.

Bollard light
Bollard light
Spotlight / uplight
Spotlight / uplight
Pendant
Pendant
Socket
Socket
Light switch
Light switch
Distribution board
Distribution board
Motion sensor
Motion sensor
Underground cable
Underground cable
Lighting plan

Garden and house lighting plan with illuminance zones

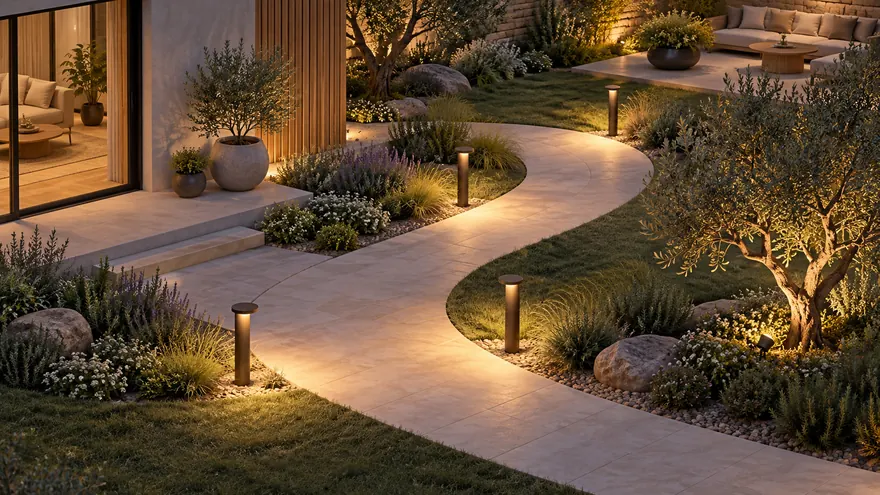
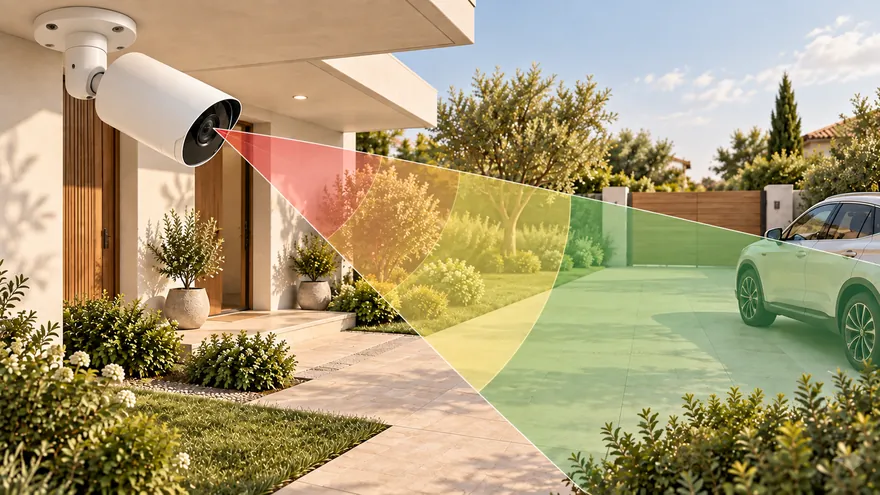
A light on a plan is not a dot — it is the area it actually lights. gardmi draws that area for every fixture, so you see at once where the path is dark and where two lights overlap for nothing.

  • 5 / 10 / 20 / 50 lx rings for path, parking, entrance, terrace
  • Beam-angle sector for spotlights
  • Dark gaps between lights are visible at once
Garden lighting plan: bollards along a path with illuminance rings and a spotlight sector

Illuminance zones by norms

Each light shows the rings where it gives 5, 10, 20 or 50 lx — the targets for a garden path, parking, entrance and terrace; indoor fixtures use 50–200 lx for hall, bedroom, living room and kitchen. Zones are managed like protection zones: shown on selection or always, editable, with your own thresholds.

Beam angle and aiming

Spotlights and floodlights light a sector, not a circle: drag the handles to set the beam angle and turn the fixture towards the tree or the façade. Wall lights aim along the wall they hang on.

Colour temperature and power

Choose 2700 K warm, 3000 K warm white, 4000 K neutral or 5000 K daylight, set lumens and watts — the load goes straight into the circuit calculation and the estimate.

12 V garden lighting

Low-voltage garden lighting is a separate network: a 12 V transformer near the house, a garden cable and bollards along the path. gardmi checks the transformer capacity and the voltage drop, which matters at 12 V on a long run.

Wiring

House wiring plan: cables, circuits, breakers and sections

The cable network is a graph from the board: every light and socket you connect adds its load, and every run gets its current, breaker and section.

  • Load, current and section on every cable
  • Breaker rating per circuit group
  • Voltage drop at the far end checked
Cable network from the distribution board: indoor circuits, a buried garden cable and a 12 V transformer

Cables from the board

Click along the route: indoor wiring, an underground garden cable, an overhead wire or a 12 V garden cable. Drop a junction onto a light or a socket to connect it; junctions stay pinned to the equipment when you move it.

Circuit groups

Split the plan into circuits — lighting, sockets, mixed, 12 V, other loads — and name them the way the board will be labelled: kitchen sockets, garden lighting, garage. Groups are created, renamed and deleted in one picker.

Breaker and cable section

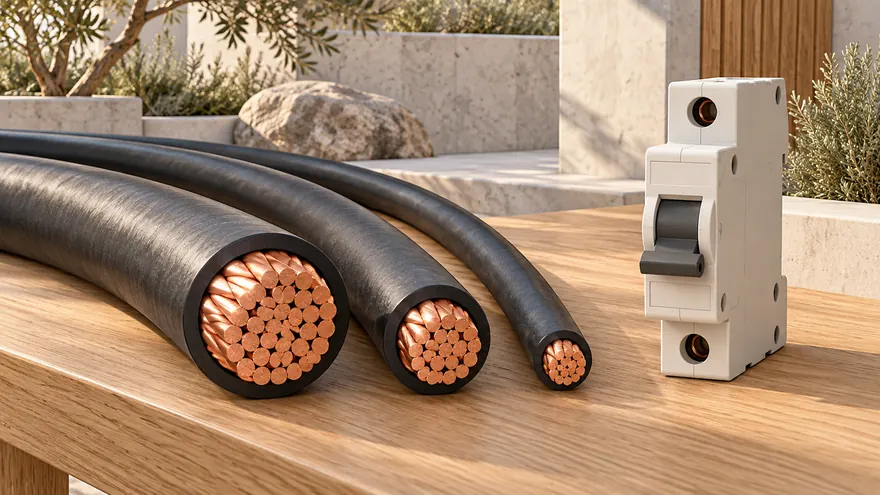
From the connected load gardmi computes the demand and current of every circuit and suggests the breaker rating and copper section — 1.5 mm² for lighting, 2.5 mm² for sockets, more for long or heavy runs. The result is visible on each cable.

Voltage drop and checks

A long garden run loses volts along the way. gardmi computes the drop at the far end of every circuit and shows the checks as cards: supply exceeded, section too small, drop over the limit — before anything is bought or buried.

Export

Panel schedule, legend and a PDF drawing album

The plan becomes a set of sheets an electrician can work from — with a cover, a table of contents and a legend on every drawing.

  • Legend of symbols on every sheet
  • Panel schedule and materials estimate
  • One page format for the whole album
A PDF drawing album: the electrical plan with a legend, the panel schedule table and a cover sheet

Panel schedule

A table of the board: every circuit with its name, kind, load, current, breaker and cable section — generated from the plan, ready to print and hang inside the board door.

Legend of symbols

Every exported sheet carries a legend of the symbols used on it — lights, sockets, switches, sensors, cables — so the drawing reads without a phone call. Devices carry no labels by default; name only what needs a name.

Materials estimate

Cable metres by kind and section, fixtures, sockets, switches, breakers and the board add up into an estimate in your currency — as a sheet of the album or on its own.

Album presets

Choose who the album is for — builders, submission or a listing — and gardmi picks the sheets: the electrical section, the lighting plan, the panel schedule, the estimate and the building notice, all in one page format, landscape or portrait.

How to make an electrical plan

  1. 1

    Draw the house and the plot

    Import the plot by cadastral number or trace it over a satellite map, draw the walls and rooms or import a floor plan — sockets and switches will snap to these walls.

  2. 2

    Place lights and devices

    Open the Electrical section: only electrical objects are editable there, the rest of the plan stays as a ghost. Place lights and watch their illuminance zones, put sockets and switches on the walls, the board near the entrance.

  3. 3

    Route the cables

    Draw cables from the board to each group of devices; gardmi sums the load, assigns breakers and sections and flags the voltage drop. Or ask the AI assistant to lay out the garden lighting — it places the fixtures and wires them itself.

  4. 4

    Export the album

    Export the electrical plan with a legend, the panel schedule and the estimate to PDF or PNG — one file for the electrician and the store.

Electrical plan — frequently asked questions

How do I make an electrical plan of a house myself?

Start from the floor plan: place the lights, then the sockets and switches on the walls near where furniture and appliances will stand, then the distribution board near the entrance. Draw cables from the board to each group. gardmi draws the symbols, computes the load of every circuit, picks the breaker and cable section and highlights what is out of norm.

How many lux does the garden lighting need?

Typical targets: 5 lx for garden paths, 10 lx for parking, 20 lx at the entrance, 50 lx on a terrace; indoors 50 lx in a hall, 100 lx in a bedroom, 150 lx in a living room and 200 lx in a kitchen. gardmi draws the illuminance zone of every light for these thresholds, so gaps and dark spots are visible on the plan.

What cable section and breaker do I need for sockets and lighting?

The common practice is 1.5 mm² copper with a 10 A breaker for lighting and 2.5 mm² with 16 A for socket groups; long garden runs need a thicker cable so the voltage drop stays within a few percent. gardmi sums the load of each circuit, suggests the breaker and section and warns when the voltage drop at the far end is too high.

What symbols are used on an electrical plan?

Lights are circles with a cross, sockets and switches are semicircles on the wall with strokes for gangs, the board is a rectangle, cables are lines between them. gardmi uses these standard symbols and adds a legend to every exported sheet, so builders read the drawing without explanations.

Draw the electrical plan of your house and garden online

Open the editor

gardmi is a free online planner. Breaker ratings, cable sections and illuminance figures here are general guidance — the final design must be checked against your local electrical code and by a qualified electrician.