
Hillside landscaping: plan a sloped backyard online
Real plots are rarely flat. gardmi turns survey spot elevations into a 3D ground relief, lets you set the construction zero mark and a water level — so you can plan terraces, check flooding and design waterfront buildings before any earthworks.
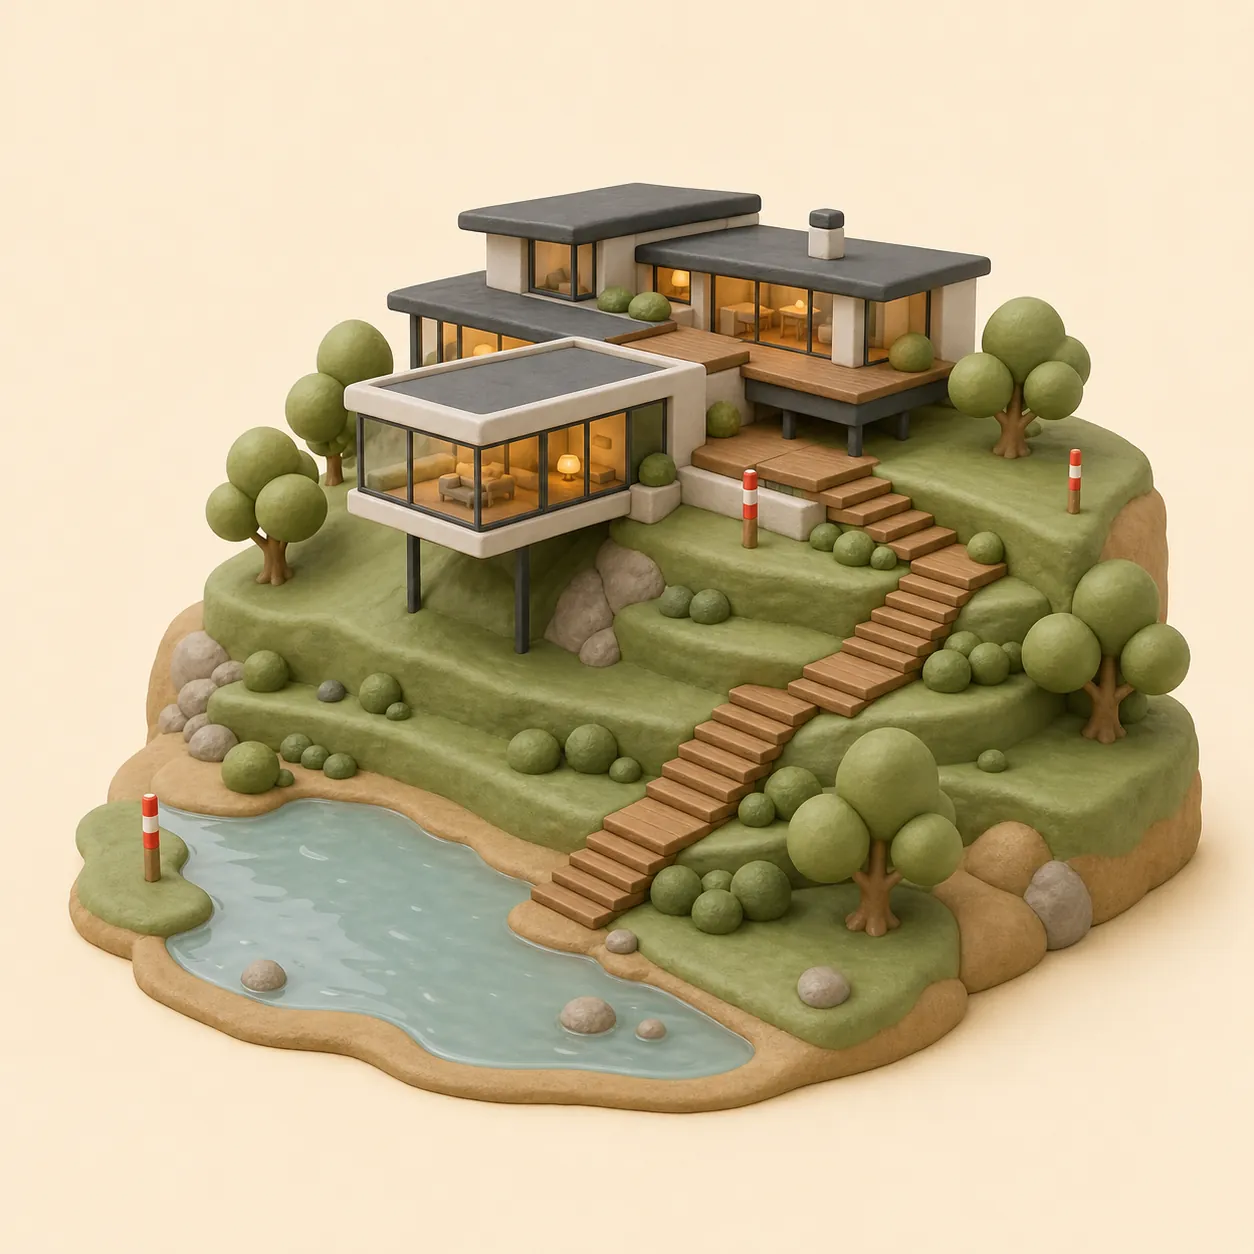
Plot on a slope with a height difference
-
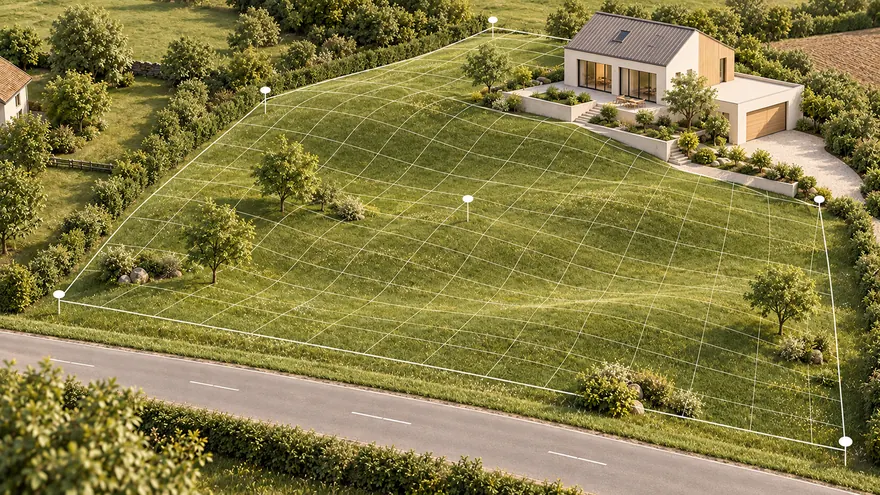 Ground relief from a topographic survey
Survey spot elevations become a 3D ground surface
Ground relief from a topographic survey
Survey spot elevations become a 3D ground surface
-
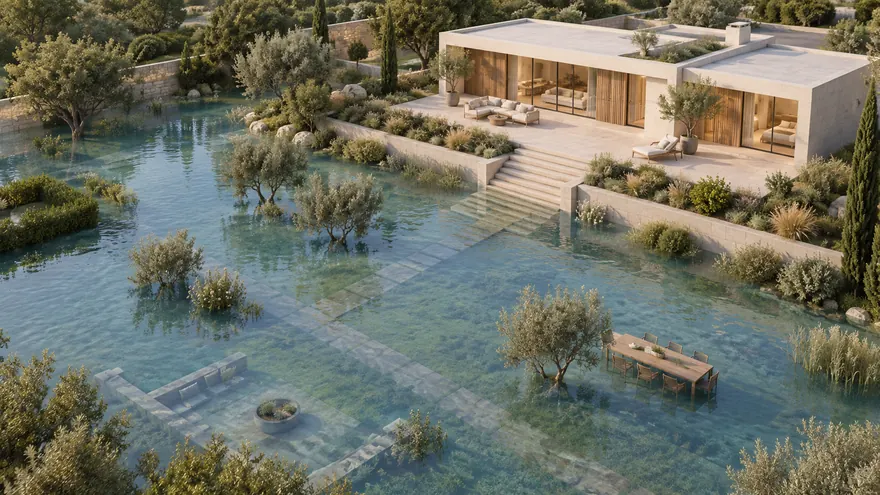 Plot in a flood-prone area
Raise the water level and see what goes under
Plot in a flood-prone area
Raise the water level and see what goes under
-
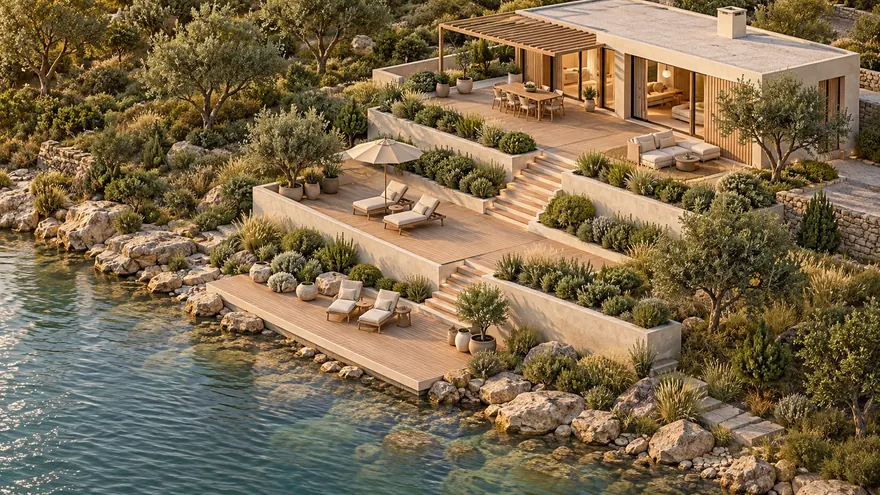 A house by a lake or river
The shoreline appears where the terrain meets the water
A house by a lake or river
The shoreline appears where the terrain meets the water
-
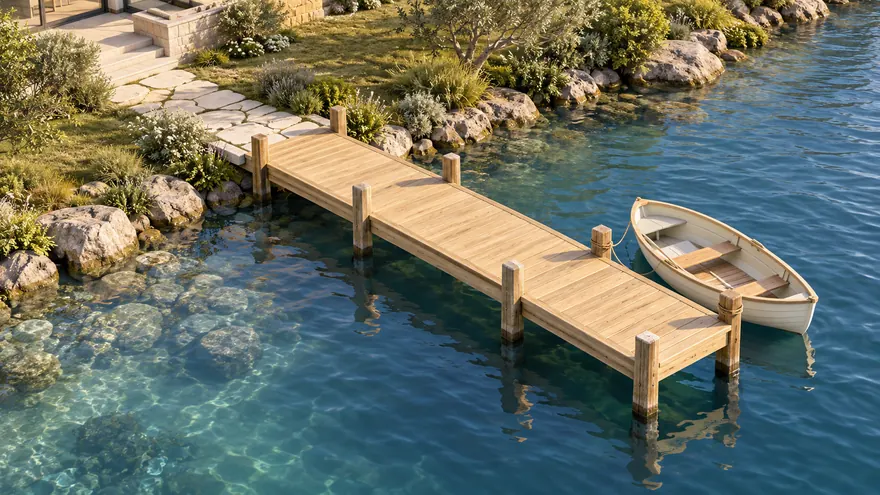 Piers, jetties and footbridges
Check that the deck stays above the high-water mark
Piers, jetties and footbridges
Check that the deck stays above the high-water mark
-
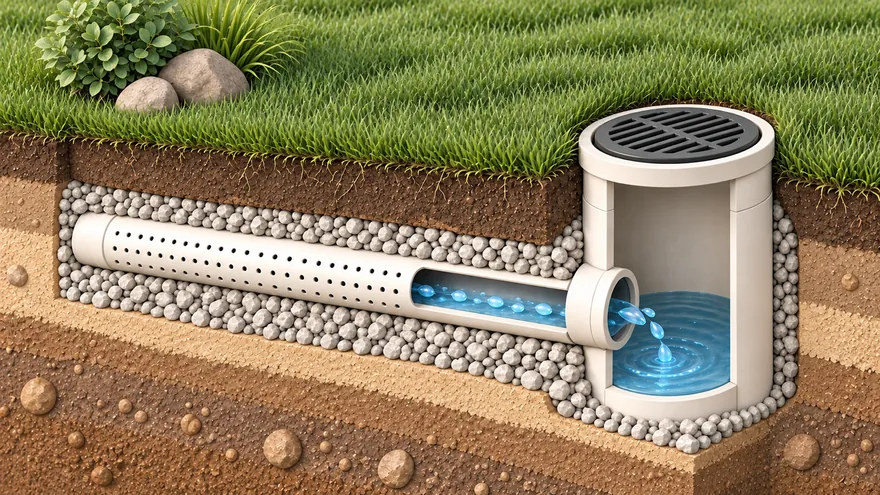 Drainage
Slopes, depths and the outlet checked for you
Drainage
Slopes, depths and the outlet checked for you
-
 Garage ramp
Slope and length of a drive up to a raised plinth
Garage ramp
Slope and length of a drive up to a raised plinth
-
 3D and walkthrough
From plan to 3D in one click; walk at eye level or in VR
3D and walkthrough
From plan to 3D in one click; walk at eye level or in VR
-
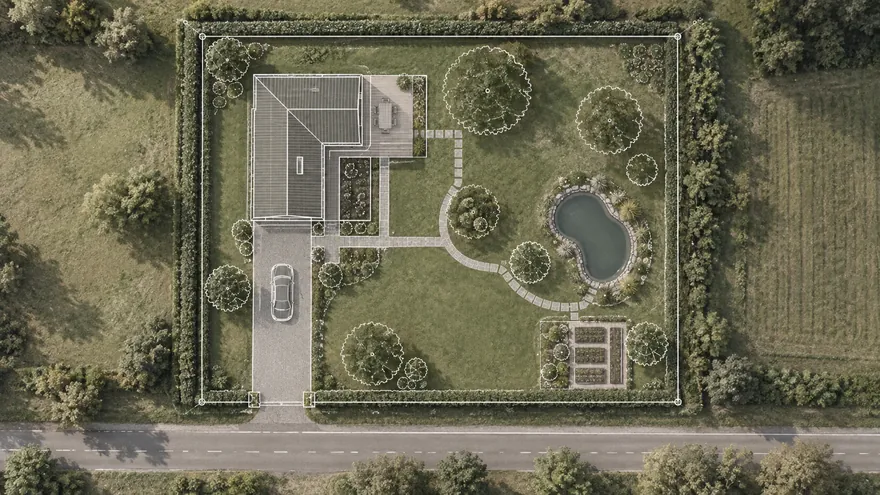 Plot on a satellite map
Find the plot by address and plan right over the imagery
Plot on a satellite map
Find the plot by address and plan right over the imagery
Ground relief from a topographic survey
A topographic survey gives you key points with altitudes above sea level. Put the same points on the plan — and the 3D view builds the actual ground surface through them.
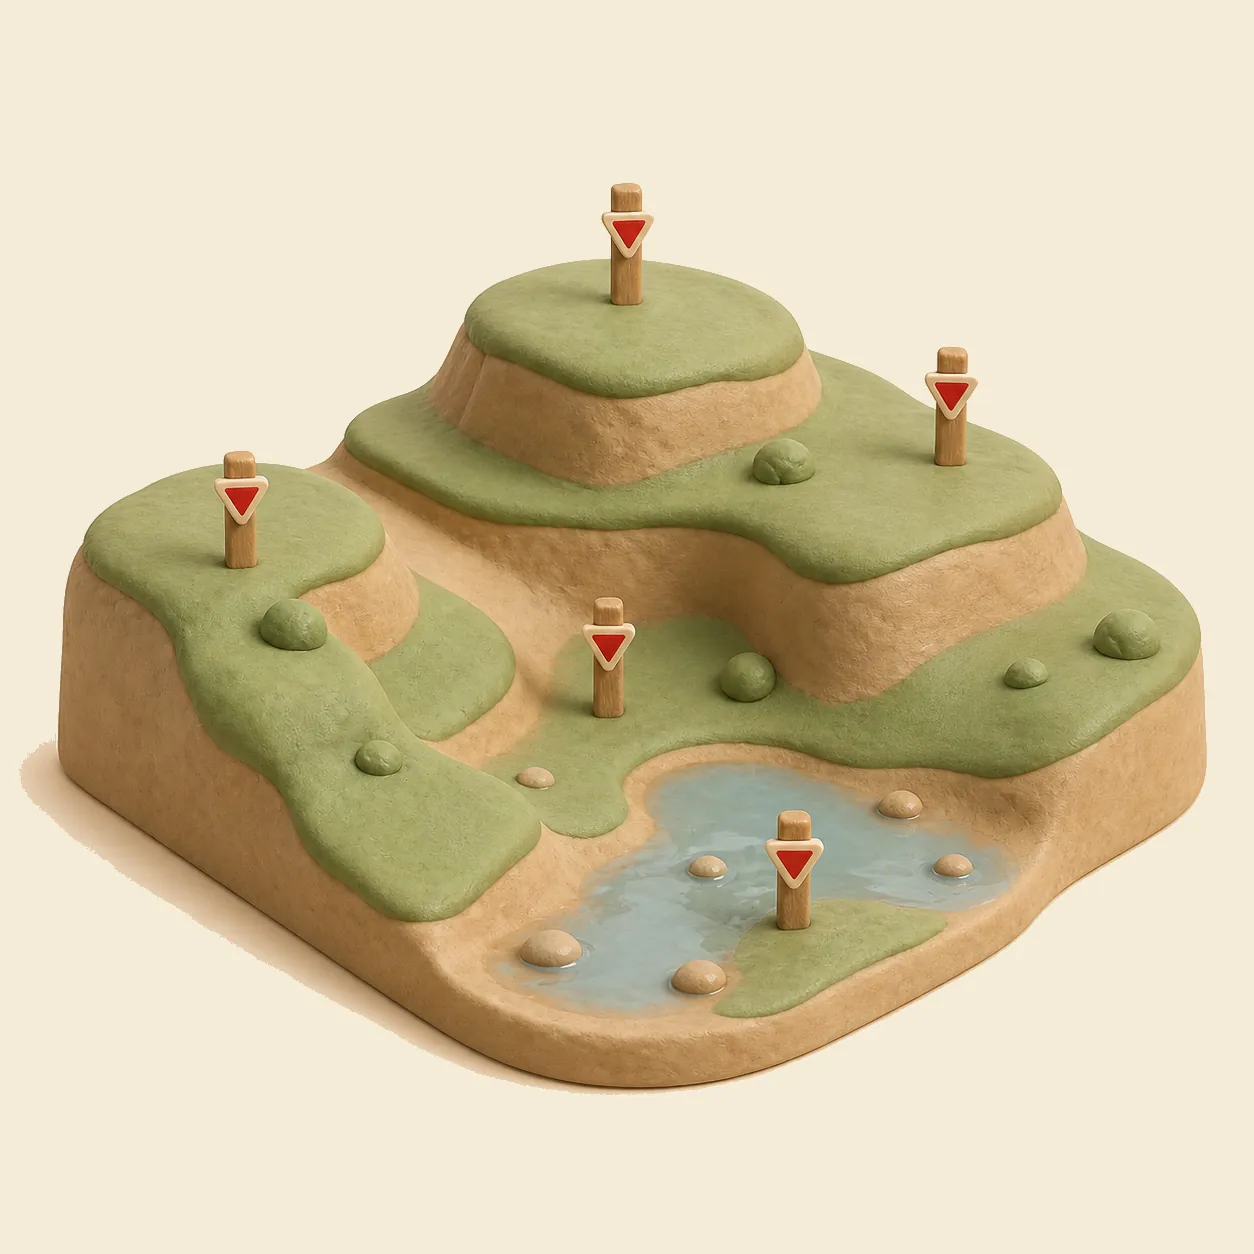
Add a “Spot elevation” from the object catalog, click the survey point location and type its altitude — either as an absolute value from the survey (“96.20”) or as a Z offset from the project zero (“−0.80”). Each mark shows its altitude right on the plan, like on a real survey drawing. Three–five points already give a recognizable slope; the more points, the more accurate the surface.
Set the project zero altitude (the construction zero mark) in the Site level settings: buildings stand on it in 3D, and all heights are measured against it — exactly how a construction site works.
Plot in a flood-prone area
If the plot floods in spring or sits next to a river, the key question is: which level does the water actually reach?
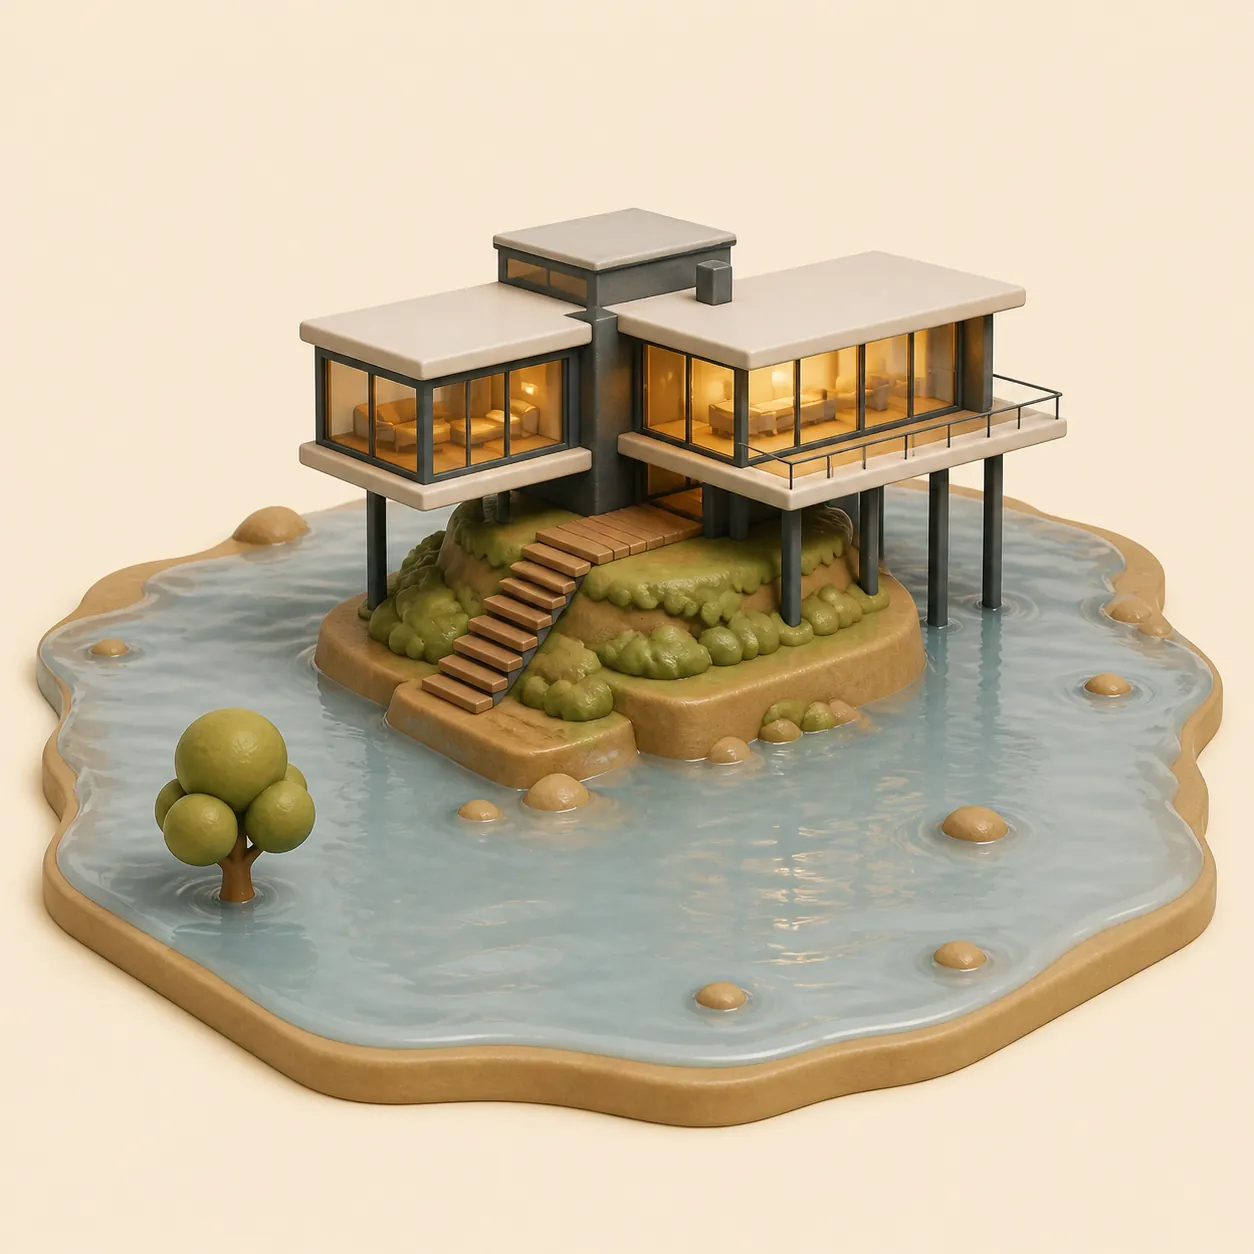
Add the “Water” level to the project and set the water surface altitude — for example, the known high-water mark. In 3D the water plane floods everything below it: you instantly see which corners of the plot go under, whether the house pad is high enough and how much to raise the plinth or the driveway. Move the level up and down to compare scenarios — a normal summer level against a spring flood.
Pair it with the Ramp object to design a drive up to a raised garage on a flood-prone plot.
A house by a lake or river
Waterfront plots combine both challenges: a slope down to the water and a water level that varies through the year.
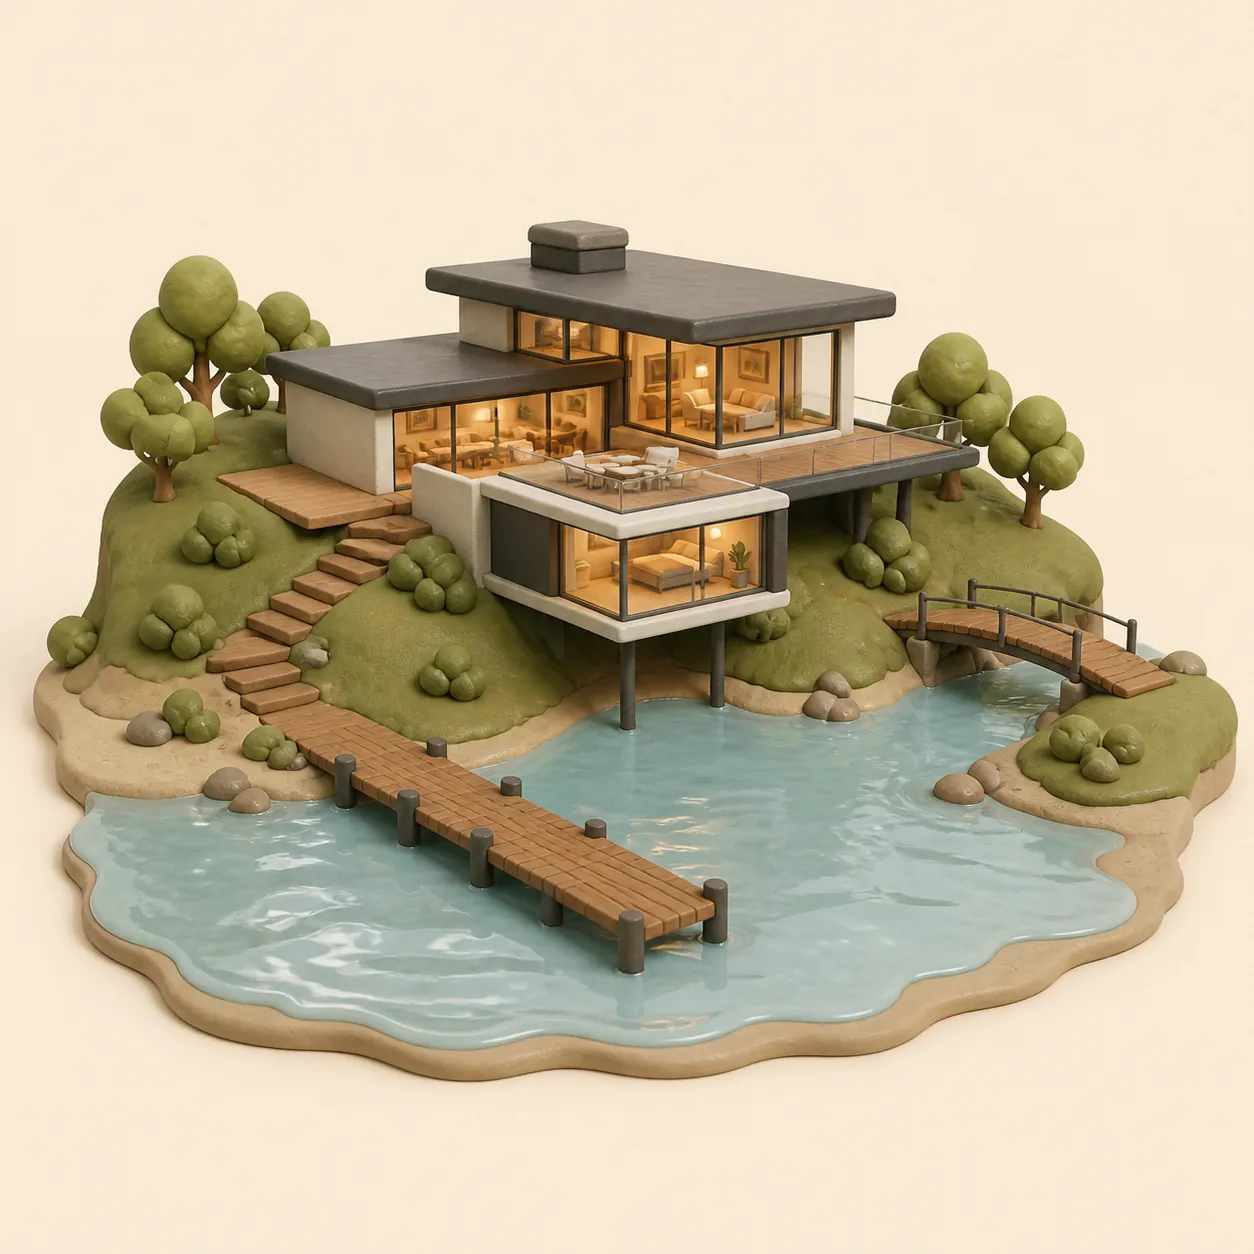
Survey the bank with a few spot elevations, set the water level — and the shoreline appears in 3D exactly where it is in reality. Now placement decisions become visual: how far from the water to put the house, where the bank is steep enough to need a retaining wall, which part of the garden stays dry all year.
Piers, jetties and footbridges
Structures over water are planned against the water level, not the ground: a pier deck should stay above the high-water mark, and a footbridge needs clearance under it. In gardmi you draw the pier or bridge on the plan, give it a height above the project zero (the Z field every object has) — and in 3D you immediately see the deck against the water plane: does it stay dry at flood level, and where the bank end of the bridge meets the slope.
Sloped site planner app
- An icon on the home screen — back to your plot in one tap
- Full screen without the address bar — more room for the plan
- The same projects on phone and computer — cloud autosave
You are already in the app — gardmi is installed.

FAQ
Can I install gardmi as an app on my phone?
Yes. gardmi installs straight from the browser, without App Store or Google Play: on Android and in Chrome or Edge on a computer press “Install the app”, on iPhone open the site in Safari and choose Share → Add to Home Screen. The app opens full-screen from its icon and keeps the same cloud projects.
How do I plan a plot on a slope?
Start from survey spot elevations, not from a retaining wall. Put them on the plan, then compare complete options — keep the natural slope, level only the pads you need, or sketch terraces — with the same house, paths and water scenarios.
How many spot elevations do I need?
Three to five points already give a recognizable slope; the more points, the more accurate the surface. Enter each altitude as an absolute survey value or as an offset from the project zero.
Can I check whether the plot floods?
Add the Water level and set the known high-water mark: in 3D everything below it goes under water, so you see whether the house pad is high enough and how much to raise the plinth or the driveway. It is a visual scenario, not a hydrological calculation.
Does the terrain model create terraces and retaining walls?
The current terrain model creates a smooth surface between spot elevations. It does not create a sharp terrace step or an engineered retaining wall; those can only be marked as planning annotations for a specialist to design and verify.
More about the planner
How to build the relief: step by step
- Upload the survey image as an underlay and calibrate the scale.
- Place “Spot elevation” marks on the survey points and type their altitudes.
- Set the project zero in the Site level settings — buildings stand on it.
- Add the “Water” level and set the water altitude if the plot is near water.
- Switch to 3D: the relief, the meter grid draped over slopes and the water plane show the real shape of the plot. Click any elevation mark in 3D to edit it.
Important limitation
This is a planning aid, not an engineering survey or a vertical-planning project. The relief is interpolated between your points; for construction decisions on slopes and in flood zones rely on a licensed survey and a qualified designer.
The current terrain model creates a smooth surface between spot elevations. It does not create a sharp terrace step or an engineered retaining wall; those can only be marked as planning annotations for a specialist to design and verify.